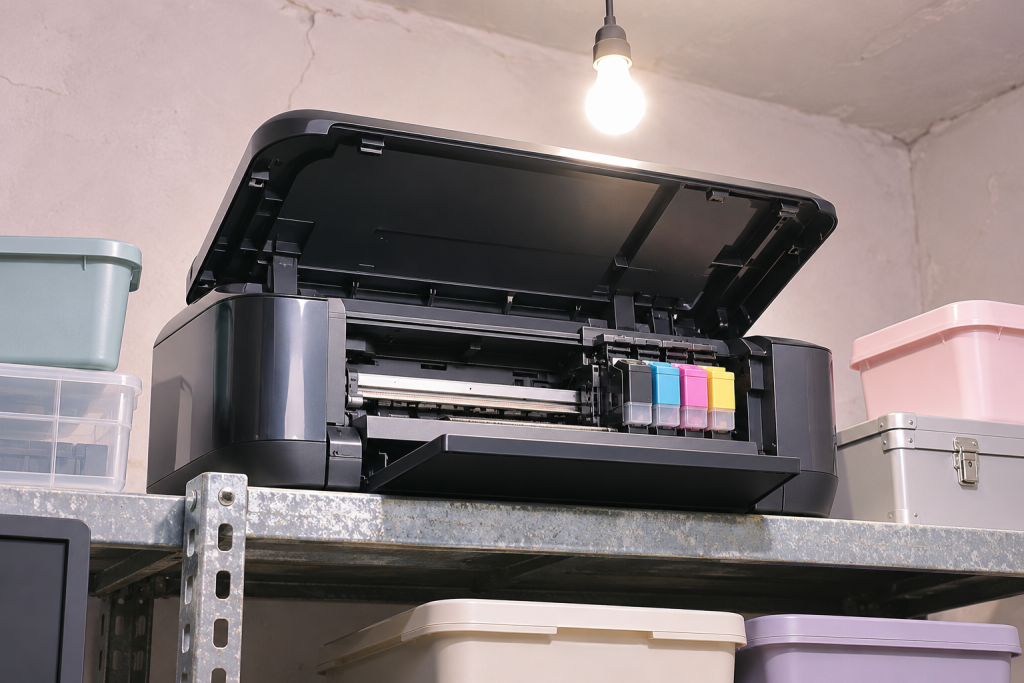
Skip the CD in the box. It is almost certainly older than the printer, and on a machine with no optical drive it is just a coaster. The EcoTank ET-2800 is a plain, reliable little tank printer, and it does not need a bundled software suite to print a page. Get the driver from Epson‘s support pages, point Windows at it, and you are done in about ten minutes.
We have set up enough of these to know where the friction lives. It is rarely the driver itself. It is the “full feature” installer that tries to add scan utilities, registration nags, and a background service you did not ask for. Here is the clean path, plus what to do when Windows insists it already has the best driver and refuses to cooperate.
What you actually need before you start
Two things: a working USB cable (the ET-2800 ships with one, and it is a USB-only printer for setup purposes), and the exact model name. Epson’s download page sorts by model, so type ET-2800 rather than picking from a generic EcoTank list. Wrong-model driver installations are one of the more common causes of a printer that installs fine but prints garbage or nothing at all.
If the printer has never been on this PC, plug it in and power it on before you touch any software. Windows will usually detect it and quietly install a basic driver from its own library. That is fine as a starting point; we are going to replace it deliberately rather than let Windows guess.
Step 1: Get the driver from Epson, not from a driver site
Go to Epson’s official support site and search the model. Download the driver package for your Windows version and architecture (64-bit for essentially every modern install). Two package types usually show up:
- The full driver and software package (a single .exe installer). Easy, but it brings the extra utilities along.
- The driver-only package, often distributed as a compressed archive you extract to a folder. This is the one we prefer when we just want printing to work.
If only the .exe installer is offered, that is not a problem. Run it, but watch the checkboxes during setup and decline the optional software you will never open. The driver core installs either way.
One caution that applies to any driver download: pull it from the manufacturer, not from a third-party driver aggregator. Those sites wrap installers in adware and sometimes serve mismatched versions. Microsoft‘s own guidance on updating drivers through Device Manager assumes the driver came straight from the device maker, and that assumption matters here.
Step 2: Install, or point Device Manager at the files
If you downloaded an .exe, run it and follow the prompts. Restart if it asks.
If you extracted a driver-only folder, or the installer failed halfway, do it manually. This is the reliable route and it is the same whether Windows 10 or 11 is in front of you:
- Right-click Start and choose Device Manager.
- Expand Print queues (or Printers, depending on your build). Your ET-2800 should be listed. If it has a yellow warning marker, that confirms the current driver is not working.
- Right-click the printer and select Update driver.
- Choose Browse my computer for drivers.
- Point the Browse button at the folder where you extracted the driver files, then click Next.
Windows will scan that folder and install what it finds. If it reports that the best drivers are already installed, that means it matched the version you already have; move on to the troubleshooting section below.
Why we avoid “Search automatically” for printers
The automatic search pulls whatever Microsoft has certified, which is often an older generic build. It works, but it can strip out features the ET-2800 supports, like accurate ink-level reporting. When you have the vendor package sitting on disk, browse to it instead. You get the exact driver Epson shipped.
When the printer shows “driver is unavailable”
That error is Windows telling you the driver entry exists but the underlying files are missing or corrupt. It happens after a failed update, a Windows feature update, or a botched uninstall. The fix is to remove the broken entry and let the system reinstall cleanly.
In Device Manager, right-click the printer and choose Uninstall device. Then, at the top of the Device Manager window, right-click your computer’s name and select Scan for hardware changes. Windows re-detects the printer and reinstalls a driver. Microsoft documents this exact reinstall-and-rescan sequence for devices stuck with driver faults, and it applies to printers just as well as to graphics hardware.
If it comes back still broken, go back to Step 2 and point Device Manager at the extracted Epson folder manually. That bypasses whatever corrupt entry Windows is trying to reuse.
The generic driver trick, and why it is temporary
There is a fast workaround if you need to print something right now and the Epson driver will not cooperate. In the Update driver wizard, pick Browse my computer for drivers, then Let me pick from a list of available drivers on my computer, and select Generic software device or Microsoft’s generic printer driver. This gets basic printing back.
Treat it as a bridge, not a destination. The generic driver typically loses ink-level reporting and any Epson-specific features. Once the immediate page is out the door, circle back and install the real driver.
If a recent update broke things, roll it back
Printer drivers are not immune to bad releases. If the ET-2800 printed fine yesterday and misbehaves after an update, roll back instead of troubleshooting forward. In Device Manager, right-click the printer, open Properties, go to the Driver tab, and click Roll Back Driver. Pick a reason when asked and confirm. Restart when prompted.
The Roll Back button greys out when Windows has no previous version stored. In that case, download an older driver build from Epson’s site and install it manually over the current one. Best practice before any driver update is a restore point, and it costs you thirty seconds.
Wired first, wireless later
The ET-2800 connects over USB, and that is the setup we recommend for the initial install. Finish the driver installation on USB, confirm a test page prints, then move to Wi-Fi if you want it on the network. Trying to configure wireless before the driver is solid gives you two variables failing at once, and you will not know which one to fix.
Once the USB install is confirmed, Epson’s wireless setup utility (part of the fuller package, if you kept it) walks through joining your network. If you skipped the extra software, the printer’s own control panel can join a network directly.
Skip the junk, keep the driver
The instinct to run the bundled CD or the biggest installer on the download page is understandable. Resist it. The driver is the part that makes ink hit paper, and everything else is conveniences you can add later if you actually need them. Download from Epson, install deliberately, and if Windows fights you, uninstall the device, rescan, and point it at the folder by hand. That sequence solves nearly every ET-2800 setup problem we see, and it leaves you with a printer that just works instead of a background service you never asked for.